Metal Science Deep Dive: Surface Oxides: Detection and Removal
Master surface oxides detection & removal to slash rework costs. This practical guide reveals proven methods for welding, coating & QA success across metal alloys.
METAL SCIENCE & INDUSTRIAL TECHNOLOGY
Surface oxides are the silent saboteurs of metal manufacturing. Invisible to the untrained eye, these thin layers can dictate the success of a weld, the integrity of a coating, and the lifespan of a multi-million dollar asset. For process engineers and QA teams, mastering their detection and removal isn't just technical knowledge—it's a direct lever for reducing rework, cutting costs, and winning in competitive markets.
This guide moves beyond theory into actionable strategy. We'll dissect the science of oxide formation, equip you with a modern detection toolkit, and provide proven playbooks for effective removal across major metal families.
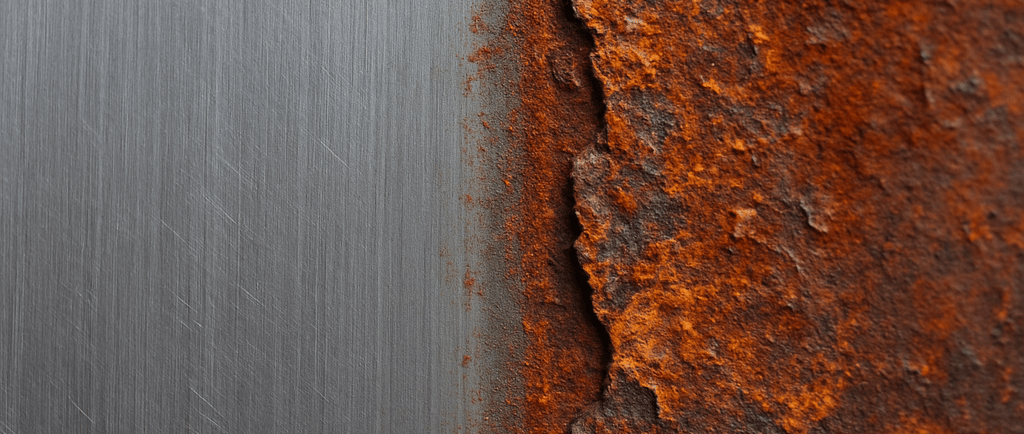
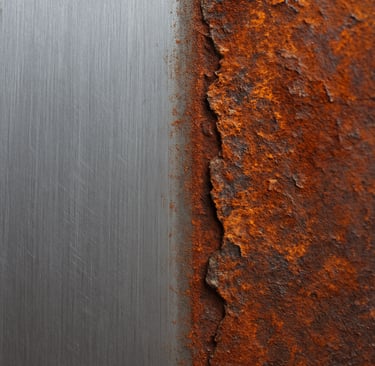
The Unseen Enemy: What Are Surface Oxides?
At its core, a surface oxide is a chemical compound formed when a metal reacts with oxygen. This isn't just "rust"; it's a fundamental process driven by thermodynamics.
The Chemistry
Iron (Fe) becomes iron oxide (Fe₂O₃, Fe₃O₄). Aluminum (Al) instantly forms a protective aluminum oxide (Al₂O₃) layer.
The Scale
These layers can be nanometers thin (a "passive" layer on stainless steel) or micrometers thick (flaky "mill scale" on hot-rolled steel).
Why They Make or Break Your Product:
Welding & Bonding Failures
Oxides create a barrier, leading to poor fusion, weld porosity, and weak adhesive bonds.
Coating Catastrophes
Paint delamination and plating defects often trace back to hidden oxide layers.
Corrosion Initiation
They can create galvanic cells, accelerating pitting and stress corrosion cracking.
QA Nightmares
They are a root cause of field failures, warranty claims, and reputational damage.
Case in Point: An automotive OEM traced 60% of its paint delamination issues to residual iron oxides. Implementing robust detection and removal protocols saved them millions in annual warranty claims.
How Oxides Form: Controlling Your Process Window
Oxidation is inevitable, but its rate and severity are controllable. Your key levers are:
Temperature
The primary accelerator. Oxidation rates increase exponentially with heat. (e.g., Mill scale forms >800°C).
Atmosphere
Oxygen and water vapor are the main reactants. Controlled (e.g., N₂, H₂) or vacuum atmospheres are used to suppress oxidation during heat treatment.
Time
The longer the exposure to aggressive environments, the thicker and more tenacious the oxide layer becomes.
Alloy Composition
Chromium in stainless steel forms a protective Cr₂O₃ layer. Carbon steel, with no such protection, oxidizes readily.
Surface Condition
Rough or contaminated surfaces provide more nucleation sites, leading to faster, less uniform oxidation.
Optimizing the Window: Leading manufacturers use real-time analytics to track temperature profiles and atmospheric dew points, keeping processes within a "sweet spot" that minimizes oxide formation without sacrificing throughput.
Detection: Your Arsenal for Uncovering the Truth
A layered detection strategy is crucial. Use rapid methods for production and advanced techniques for validation.
Method Comparison Table
MethodBest ForKey InsightVisual & MicroscopicQuick checks, obvious scale.Misses thin, protective oxides. Essential first step.Chemical Spot TestsRapid, inline screening before welding/coating.Copper sulfate solution will plate out on oxide-free steel, providing a visual cue.Eddy CurrentFast, non-destructive checks for conductivity changes.Ideal for high-volume QA on incoming material or finished parts.SEM/XPS/AESLab-grade, definitive analysis of composition and thickness.The "gold standard" for root-cause analysis and validating your process.
Pro Tip: Don't rely on a single method. Combine a fast, inline test (like eddy current) with periodic lab validation (SEM/XPS) to create a robust, defensible QA system.
Removal: Selecting the Right Weapon for the Job
The golden rule: Degrease first. Oil and grease will shield oxides from removal agents. Then, choose your method based on oxide severity, part geometry, and final application.
1. Mechanical Methods: Force and Abrasion
When to Use
Thick, flaky oxides (>5-10 μm); robust parts; high-throughput needs.
Techniques
Abrasive blasting, wire brushing, shot blasting, high-pressure water descaling.
Watchouts
Embedment of abrasive media, part deformation, and residual dust.
2. Chemical & Electrochemical Methods: Precision and Uniformity
When to Use
Complex geometries, thin/tenacious oxides, superior surface finish requirements.
Techniques
Acid Pickling (Steels)
HCl or H₂SO₄ with inhibitors to dissolve mill scale.
Passivation (Stainless Steel)
Nitric or Citric acid to remove free iron and restore the chromium oxide layer.
Alkaline Etch + De-smut (Aluminum)
Removes the oxide and intermetallic residues critical for anodizing.
Electropolishing
Provides micro-smoothing, oxide removal, and superior corrosion resistance for high-purity industries.
Watchouts
Proper chemical control, thorough rinsing to specific conductivity limits (<50 μS/cm), and safe handling.
3. Advanced Methods: High-Tech Solutions
Laser Ablation
Pinpoint accuracy for selective removal (e.g., weld prep on EV busbars).
Plasma Treatment
Surface activation and micro-cleaning immediately before bonding.
Reducing-Atmosphere Anneal
Uses hydrogen to convert oxides back to metal in controlled furnaces.
Alloy-Specific Removal Playbooks
Carbon & Low-Alloy Steels:
Degrease → Abrasive Blast or Acid Pickle → Neutralize & Rinse → Dry Rapidly → Prime within shift.
Stainless Steels:
Degrease → Pickle (Paste/Immersion) → Rinse → Passivate (Citric/Nitric) → Verify Passivation.
Critical: Use dedicated, alloy-specific tools to prevent carbon steel contamination.*
Aluminum & Alloys:
Degrease → Alkaline Etch → De-smut (Acid) → Rinse → Dry → Anodize/Bond within 8-24 hours.
Copper/Nickel Alloys:
Degrease → Mild Acid Dip → Thorough Rinse → Immediate Assembly.
The 90-Day Implementation Roadmap to Oxide Control
Weeks 1-2: Audit & Baseline
Map oxide risks
Map oxide risks across your entire process flow.
Send current sample parts
Send current sample parts for SEM/XPS analysis to establish a baseline.
Define clear, measurable cleanliness specs
Define clear, measurable cleanliness specs (e.g., Ra, rinse water μS/cm, contact angle).
Weeks 3-6: Pilot & Prove
Run controlled A/B trials
Run controlled A/B trials comparing removal methods on your most problematic product lines.
Document the optimal process window
Document the optimal process window for each: times, temperatures, concentrations.
Install quick QA gates
Install quick QA gates (e.g., water-break test, conductivity meters).
Weeks 7-12: Scale & Control
Roll out standardized work instructions
Roll out standardized work instructions and tool segregation across the shop floor.
Implement Statistical Process Control (SPC) charts
Implement Statistical Process Control (SPC) charts to monitor key metrics.
Launch cross-functional team reviews
Launch cross-functional team reviews to track progress against rework and cost-saving goals.
Troubleshooting Common Scenarios
"Our paint is peeling."
Likely Cause
Residual oil or inadequate oxide removal.
Fix
Enhance degreasing, add a final solvent wipe, and verify surface energy with dyne pens.
"We have weld porosity."
Likely Cause
Oxide not fully removed or re-formed before welding.
Fix
Shorten the time between prep and welding; improve gas shielding/purging.
"Stainless parts are staining outdoors."
Likely Cause
Chloride contamination and a weak passive layer.
Fix
Implement a robust citric acid passivation process and enforce chloride-free maintenance.
Conclusion: From Cost Center to Competitive Edge
Surface oxide management is a discipline. By treating it with the strategic importance it deserves—equipping yourself with the right detection tools, implementing the correct removal sequence for your alloys, and enforcing tight process controls—you transform a hidden variable into a measurable, manageable asset. The result is not just fewer defects, but a stronger bottom line and a reputation for unwavering quality.
Connect
Your trusted partner for scrap metal procurement.
CONTACT
About
haroon@tdcventures.com
+1-307-655-7593
© 2025. All rights reserved.
NEWSLETTER